Ingredients :- (Ratio 1:3)
----------------------------------
| Idli Rice | 1 cup |
| Whole White Urad dal | 3 cups |
| Salt | 1 tbsp |
| Aval | Poha (Optional) | ½ cup |
Method : -
-------------
1). Wash, soak Urad dal and Rice in separate containers for 3-4 hours. Do not soak for longer time. Each ingredient is ground separately.
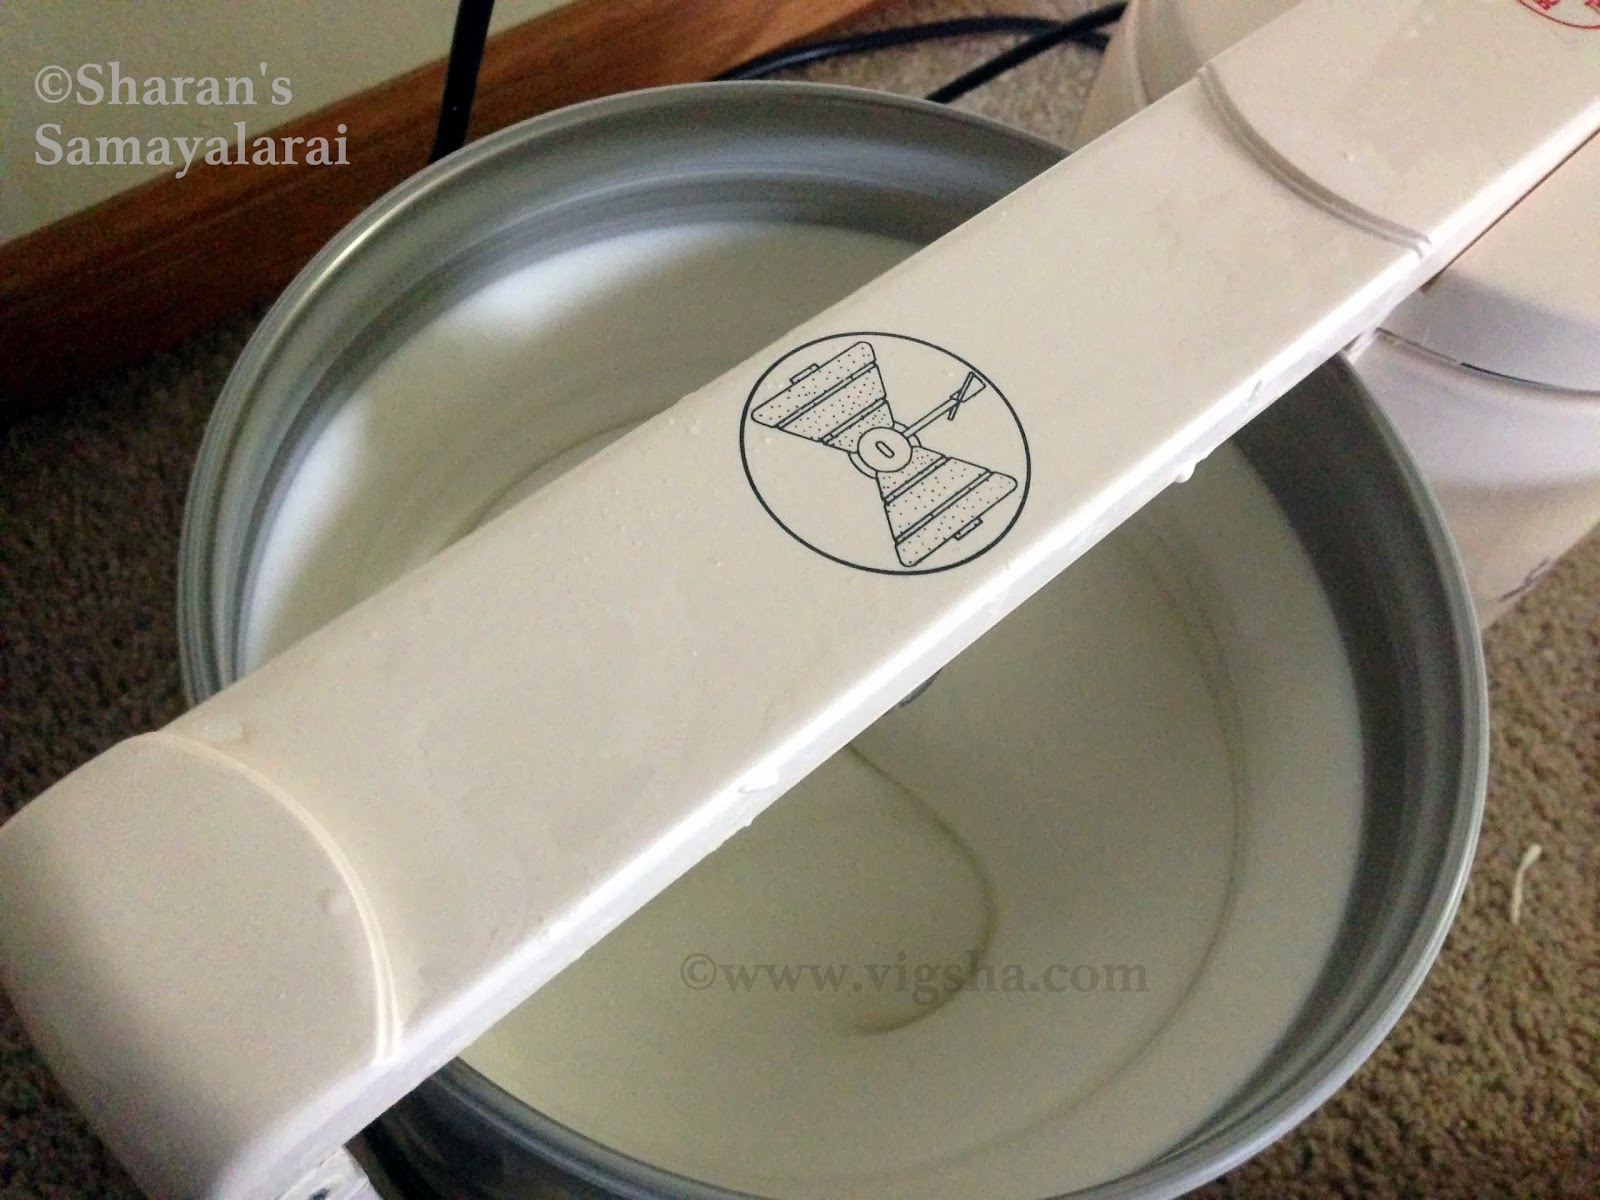
2). Start the grinder, add the soaked and drained dal. Add the little water or few ice cubes. Do not add all the water at once, add little by little throughout the grinding process. Lesser the water, the better.Idli batter should be thick, soft and fluffy. ½ cup to ¾ cup of water is only needed to grind the urad dal.
2). Start the grinder, add the soaked and drained dal. Add the little water or few ice cubes. Do not add all the water at once, add little by little throughout the grinding process. Lesser the water, the better.Idli batter should be thick, soft and fluffy. ½ cup to ¾ cup of water is only needed to grind the urad dal.
3). The dal should fluff up and fill the grinder. It should have increased about 8-10 times of its original volume.
3). Grind for atleast 25-30 minutes till it reaches smooth and fluffy batter consistency. Consistency should be thick pouring consistency, that resembles a thick pancake batter. Transfer the grounded batter to a container and set aside.
4). Now grind the soaked and drained rice with enough water. If you are using aval or poha, add it along with the rice. Suggested time for grinding rice would be less than 20-25 minutes minutes. 1 cup to 1½ cup of water is needed to grind the rice.
5). Rice batter should not be too soft, you should feel the texture of the rice batter like bombay rava. Transfer the batter along with grounded urad dal batter. Let there be lot of space for the batter to expand while fermenting. Do not fill up to the brim.
6). Add a tablespoon of salt to the grounded batter. Using your hands, combine both the batter in rotating motion so that the batter in the bottom comes up. Repeat the procedure until the batter is fully combined. Cover the container with a lid. Make sure to fill the batter upto ¾th of the container only. After fermenting it will rise up and increase in volume.
7). Pre-heat oven at 400F, let
it stay for 5 minutes, switch off. Now place the batter container and close the
oven. Usually
the batter needs to ferment for 8-12 hours or overnight. The heat and warmth of the light emitted from the oven will help
in the fermentation process of the batter.
8). Next day morning, the batter should rise almost 2 inches high with tiny bubbles. Take a laddle and mix the batter well. You can store in
the refrigerator for upto a week.
9). Don’t keep the batter outside as the fermentation process continues and over fermentation makes the batter sour and may even spoil it. Use the refrigerated batter the next day.
9). Don’t keep the batter outside as the fermentation process continues and over fermentation makes the batter sour and may even spoil it. Use the refrigerated batter the next day.
Note : -
--------
#I haven't used fenugreek for this batter, as this batter is only for Idlis. Fenugreek
is healthy and it aids in fermentation. But if you add more, then
idli becomes bitter, changing the color of the Idli. I prefer to use fenugreek only in dosa batter.
Tips :-
----------
1). I usually prepare the batter with Idli rice(parboiled rice) only. Basmati or Sona Masoori rice might work well too, but I haven't tried. You could also use a combination of parboiled rice and regular rice.
2). I always use unpolished whole white Urad Dal for the sake of convenience. I do not recommend using split Urad dal.
3). Split Black Urad Dal have been used as the primary dal for idly batter in the older days and many people use it today too. Black urad dal still has the skin intact so it consumes more time for cleaning. If you have time, you can very well use this dal as it is more healthier too.
4). Adding some poha(aval or avalakki or beaten rice) makes the idlis amazingly soft. You can use any poha, thick or thin variety poha doesn't matter.
5). Do not use ready-made rice flour that is available in the stores, it gives a poor texture.
6). I have seen many people using cream of rice also known as rice rava or rice sooji. I personally do not use Idly rava. But when using it, you may have to experiment from brand to brand.
6). I have seen many people using cream of rice also known as rice rava or rice sooji. I personally do not use Idly rava. But when using it, you may have to experiment from brand to brand.
7). Adding water :- You can always adjust the consistency of the batter later if its too thick. You cannot do anything if the batter goes runny. Watery batter will not rise and the idlies will be hard and flat. So use caution while grinding and do not add too much water while grinding.
8). Make sure the container has enough room for adding both the dal and rice batter. Use larger vessel to avoid overflow while the mix ferments. After fermenting the batter rise up, so select the container accordingly.
9). Wash the ingredients several times in running water before soaking. The water should run clear after some time.
10). Do not use the water that is used for soaking the ingredients. Drain the water completely and use fresh water for grinding. It helps to yield whiter Idlis.
Fermenting Tips :-
----------------------------
In cold countries or in cold season, its difficult for the batter to ferment. Fermenting using oven is only for friends living in cold climatic conditions. Others can just allow it to ferment at room temperature.
# The best temperature for fermentation is 30º C to 32º C. If the temperature is below 30º C , it will take longer to achieve an acceptable level of fermentation.
# If the temperature is higher than 32º C, the batter becomes sour.
# Preheat the oven for a few minutes. Then close it and keep the batter inside the oven.
# Leaving the batter inside your oven with the pilot light on works great.
# If you don’t have an oven, you could keep the batter in a warm place or warm corner in your kitchen. Insulate the vessel with a warm heavy blanket. That will keep the vessel warm.
# Acceptable level of fermentation is when the batter has become two and a half times the original volume.
# In winter it takes longer time (12 to 14 hours) to ferment and during summer it takes lesser time (9 to 10 hours).
# Idlis do not puff up, it is not fermented well.
# Even if the urad dal quality is not good enough, idli will not come out soft.
If the urad does not fluff up while grinding, it is an indication that
your idli is not going to be soft enough.
# Batter will not ferment well if no salt is added or if the surrounding is not warm enough.
# When the batter is fermented for more than 12 hours (usually in colder climate), its possible that the colour on the top of the batter might turn slightly yellow. Its perfectly edible. The batter needs to be discarded only when it becomes black on top as black spots means that the batter has spoilt.
Tips for Mixie method :-
---------------------------------
# I prefer using wet grinder for grinding the batter. The stones in the grinder fluffs up the urad dal without making it hot.
# The wet grinder method is slow but its the best.
# The urad dal when ground in the wet grinder fluffs up in volume.
# A mixie or a food processor can also be used but the consistency of the batter will differ.
# Batter wont fluff up when using Mixie or food processor.
# While grinding batter in a mixie, the jar gets heated up. To avoid that use ice water to grind the batter.
# Do not skip Poha or Avalakki or Aval or beaten rice when using Mixie.
Difference between Dosa Batter and Idli Batter :-
-------------------------------------------------------------------
1). Generally, the Dosa batter is thinner than than the Idli batter.
2). The Dosa is crusty and crisp, while the Idlis are soft and fluffy. One can just add water and
thin the Idli batter to make crispy Dosas. But you cannot make soft ildis from dosa batter.
3). Same batter can be used for both Idli and Dosas. You can make idlis in the first couple of days. Dosa batter needs to sour up a little more for good dosas.
3). Same batter can be used for both Idli and Dosas. You can make idlis in the first couple of days. Dosa batter needs to sour up a little more for good dosas.